Centos7.4用yum搭建LAMP环境
日期:2018-07-11 阅读:4110 分类:学无止境 标签:PHP LAMP Apache Linux
在阿里云新购一块云服务器,镜像ID为centos_7_04_64_20G_alibase_201701015.vhd 准备搭建lamp环境,具体操作如下:
0、查看环境
[root@iZ94032d5koZ ~]# cat  /etc/redhat-release
CentOS Linux release 7.4.1708 (Core)
[root@iZ94032d5koZ ~]# uname -a
Linux iZ94032d5koZ 3.10.0-693.2.2.el7.x86_64 #1 SMP Tue Sep 12 22:26:13 UTC 2017 x86_64 x86_64 x86_64 GNU/Linux
[root@iZ94032d5koZ ~]#
1、安装apache
1.1 安装apache
yum install httpd httpd-devel1.2 启动apache服务
systemctl start httpd1.3 设置httpd服务开机启动
systemctl enable httpd1.4 查看服务状态
systemctl status httpd1.5 防火墙设置开启80端口
firewall-cmd --permanent --zone=public --add-service=http输入命令后出现如下问题 FirewallD is not running
通过命令systemctl status firewalld查看firewalld状态,发现当前是dead状态,即防火墙未开启。
开启防火墙命令systemctl start firewalld
再次通过systemctl status firewalld查看firewalld状态,显示running即已开启了。
如果要关闭防火墙设置,可能通过systemctl stop firewalld这条指令来关闭该功能。
再执行之前命令
[root@iZ94032d5koZ ~]# firewall-cmd --permanent --zone=public  --add-service=http
success
[root@iZ94032d5koZ ~]# firewall-cmd --permanent --zone=public  --add-service=https
success
[root@iZ94032d5koZ ~]# firewall-cmd --reload
success
[root@iZ94032d5koZ ~]#
1.6确认80端口监听中
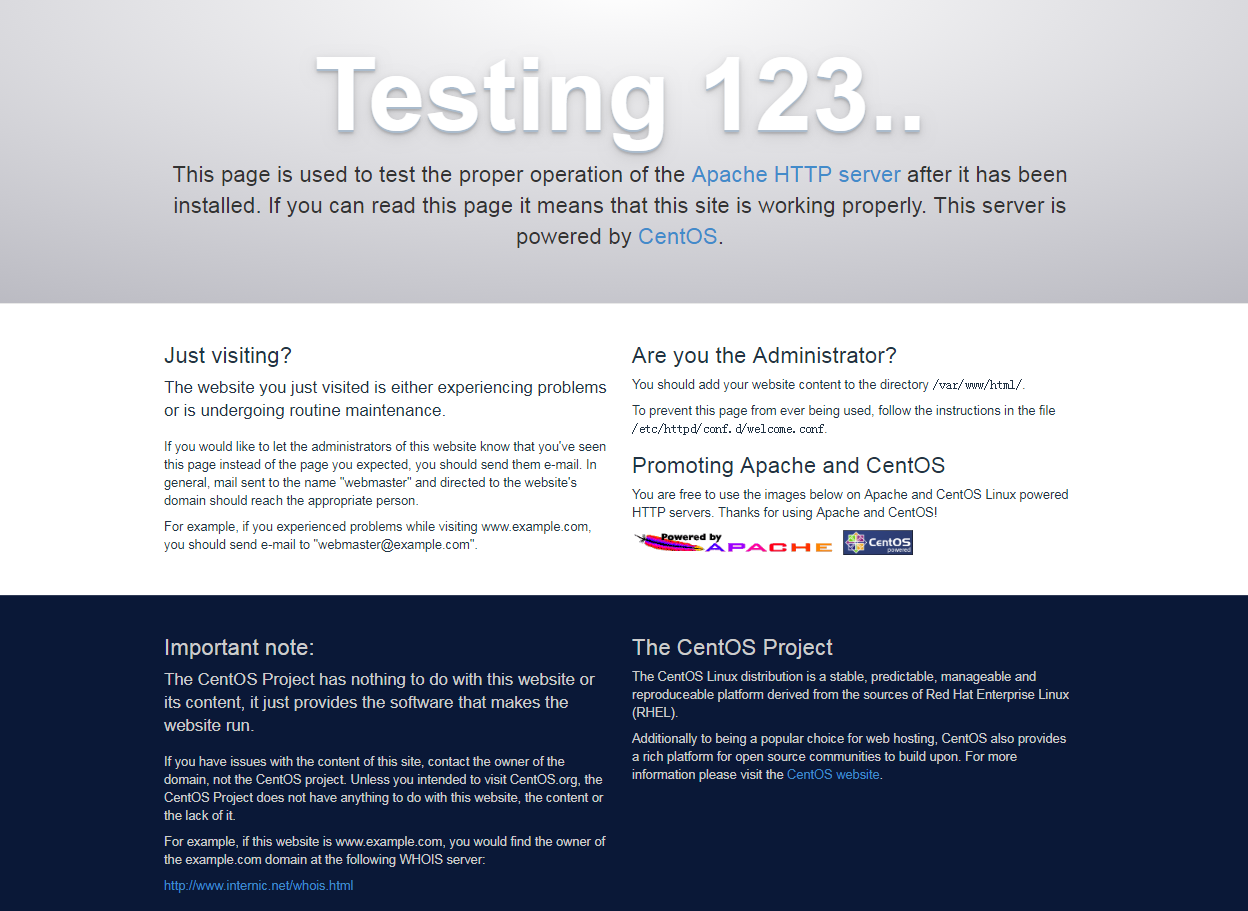
查看命令 netstat -tulp1.7 浏览器输入IP或者域名查看页面
2、安装mysql
2.1安装mysql
yum install mariadb mariadb-server mariadb-libs mariadb-devel查看rpm包
[root@iZ94032d5koZ ~]# rpm -qa |grep maria
mariadb-devel-5.5.60-1.el7_5.x86_64
mariadb-libs-5.5.60-1.el7_5.x86_64
mariadb-server-5.5.60-1.el7_5.x86_64
mariadb-5.5.60-1.el7_5.x86_64
2.2 开启mysql服务,并设置开机启动,检查mysql状态
systemctl start mariadb
systemctl enable mariadb
systemctl status mariadb
netstat -tulp
2.3 数据库安全设置
按提示操作,初始密码默认为空
[root@iZ94032d5koZ ~]# mysql_secure_installation
NOTE: RUNNING ALL PARTS OF THIS SCRIPT IS RECOMMENDED FOR ALL MariaDB
      SERVERS IN PRODUCTION USE!  PLEASE READ EACH STEP CAREFULLY!

In order to log into MariaDB to secure it, we'll need the current
password for the root user.  If you've just installed MariaDB, and
you haven't set the root password yet, the password will be blank,
so you should just press enter here.

Enter current password for root (enter for none):
OK, successfully used password, moving on...

Setting the root password ensures that nobody can log into the MariaDB
root user without the proper authorisation.

Set root password? [Y/n] y
New password:
Re-enter new password:
Password updated successfully!
Reloading privilege tables..
 ... Success!


By default, a MariaDB installation has an anonymous user, allowing anyone
to log into MariaDB without having to have a user account created for
them.  This is intended only for testing, and to make the installation
go a bit smoother.  You should remove them before moving into a
production environment.

Remove anonymous users? [Y/n] y
 ... Success!

Normally, root should only be allowed to connect from 'localhost'.  This
ensures that someone cannot guess at the root password from the network.

Disallow root login remotely? [Y/n] n
 ... skipping.

By default, MariaDB comes with a database named 'test' that anyone can
access.  This is also intended only for testing, and should be removed
before moving into a production environment.

Remove test database and access to it? [Y/n] y
 - Dropping test database...
 ... Success!
 - Removing privileges on test database...
 ... Success!

Reloading the privilege tables will ensure that all changes made so far
will take effect immediately.

Reload privilege tables now? [Y/n] y
 ... Success!

Cleaning up...

All done!  If you've completed all of the above steps, your MariaDB
installation should now be secure.

Thanks for using MariaDB!
2.4 登陆数据库测试
[root@iZ94032d5koZ ~]# mysql -uroot -p
Enter password:
Welcome to the MariaDB monitor.  Commands end with ; or \g.
Your MariaDB connection id is 9
Server version: 5.5.60-MariaDB MariaDB Server

Copyright (c) 2000, 2018, Oracle, MariaDB Corporation Ab and others.

Type 'help;' or '\h' for help. Type '\c' to clear the current input statement.

MariaDB [(none)]> show databases;
+--------------------+
| Database           |
+--------------------+
| information_schema |
| mysql              |
| performance_schema |
+--------------------+
3 rows in set (0.00 sec)

MariaDB [(none)]>
3、安装PHP
3.1 安装php
yum -y install php
查看rpm包
[root@iZ94032d5koZ ~]# rpm -ql php
/etc/httpd/conf.d/php.conf
/etc/httpd/conf.modules.d/10-php.conf
/usr/lib64/httpd/modules/libphp5.so
/usr/share/httpd/icons/php.gif
/var/lib/php/session
3.2 将php与mysql关联起来
yum install php-mysql
查看rpm包
[root@iZ94032d5koZ ~]#  rpm -ql php-mysql
/etc/php.d/mysql.ini
/etc/php.d/mysqli.ini
/etc/php.d/pdo_mysql.ini
/usr/lib64/php/modules/mysql.so
/usr/lib64/php/modules/mysqli.so
/usr/lib64/php/modules/pdo_mysql.so
3.3 安装常用PHP模块
yum install -y php-gd php-ldap php-odbc php-pear php-xml php-xmlrpc php-mbstring php-snmp php-soap curl curl-devel php-bcmath
3.4重启apache服务器
systemctl restart httpd
3.5用phpinfo文件测试
打完收工